DIY Truck Bed Build-Out
I received a few emails after last week’s post asking about how we built out our truck bed for storage and sleeping, so I thought I would pass along the how-to and step-by-step that we followed!
We really began by simply scouring both our memories and the great interwebs for how other people have done it…we’re big believers in not re-inventing the wheel unnecessarily! My years working as an outdoor guide exposed me to the myriad of ways people can live out of their vehicles and I may or may not have begun with some lofty visions of custom welded exterior racks to go around the camper top (GEAR, you guys! I wanted more space for GEAR!). Reality (as well as time and budget limitations…pesky budgets…) set in and we settled on a copy of how the ever-fabulous Becca Skinner rigged out her truck, Happy.
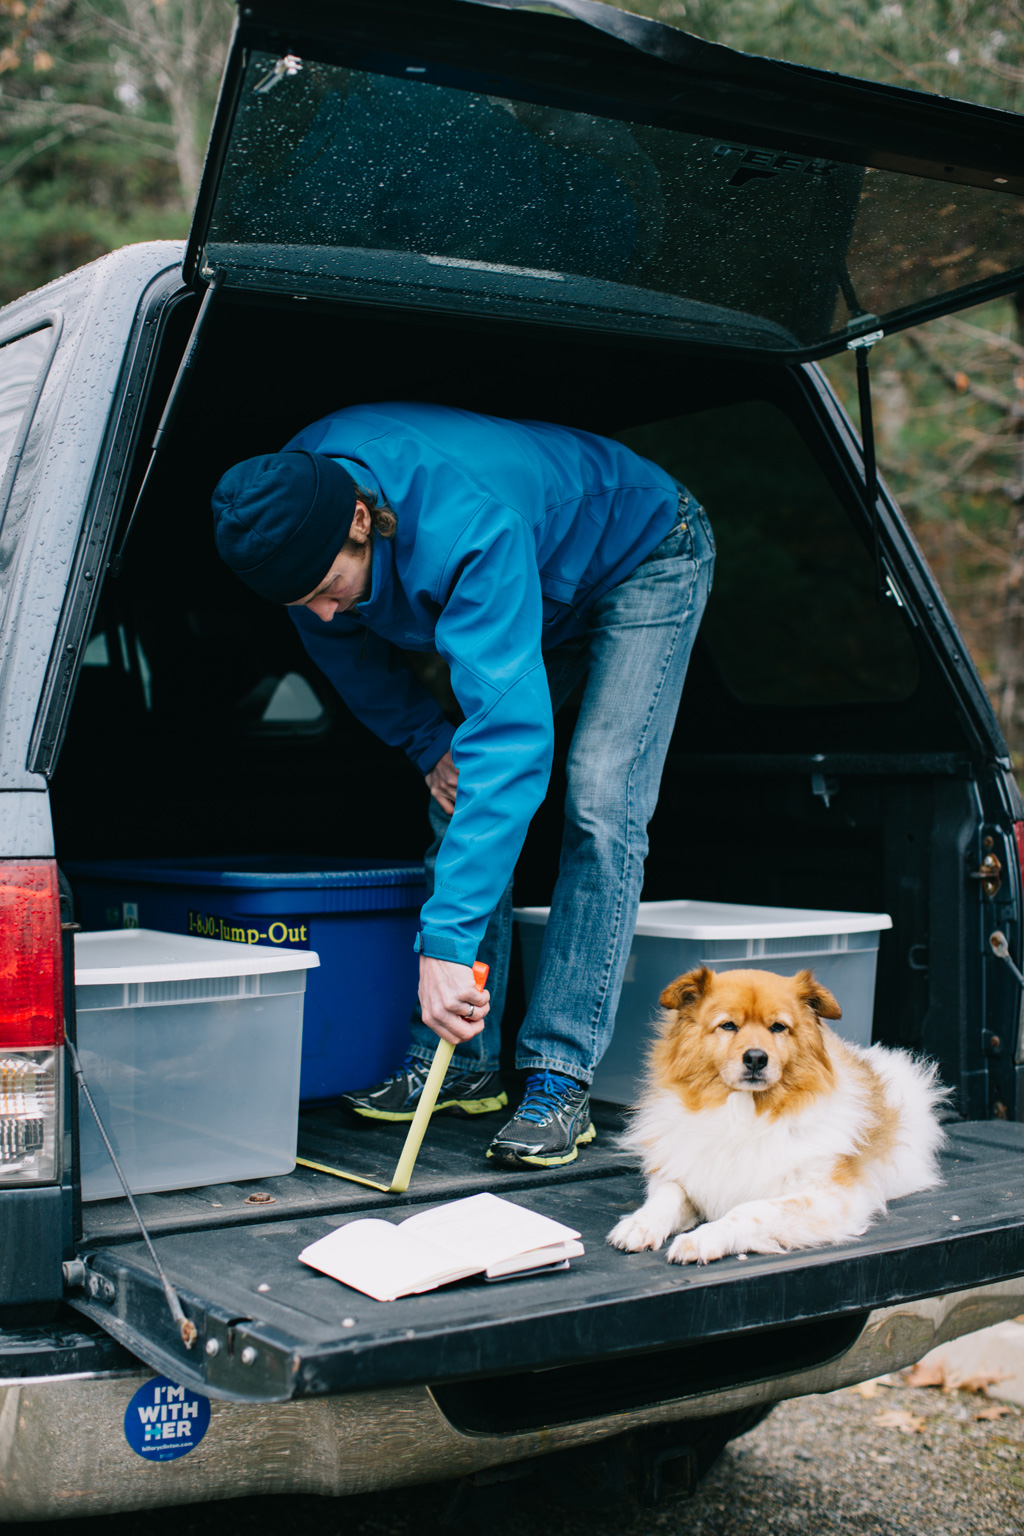
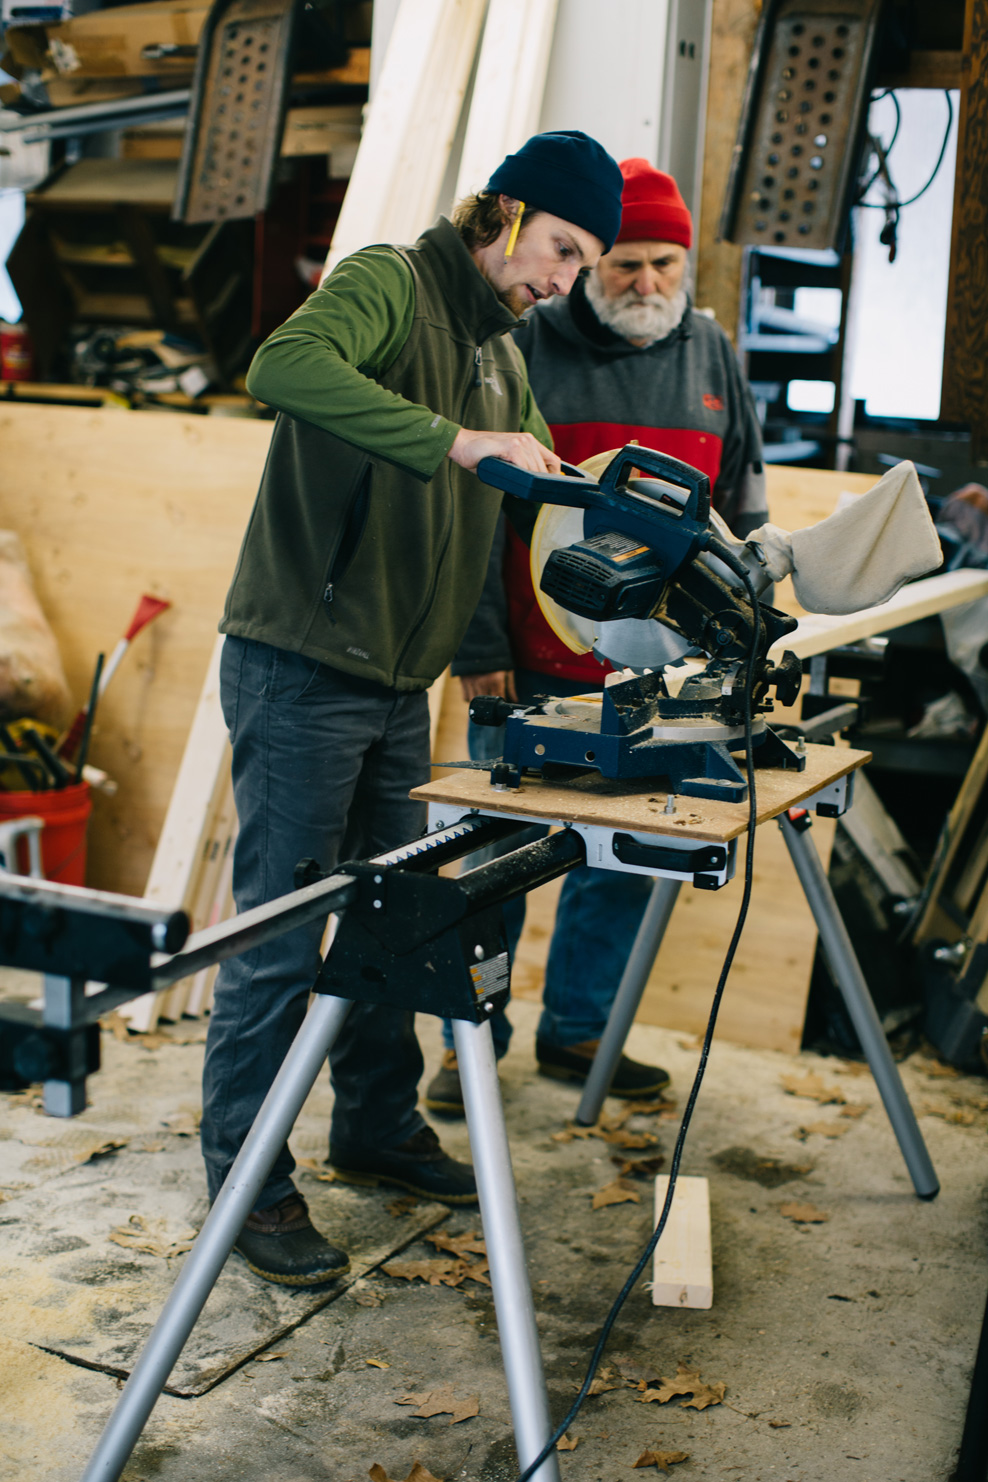
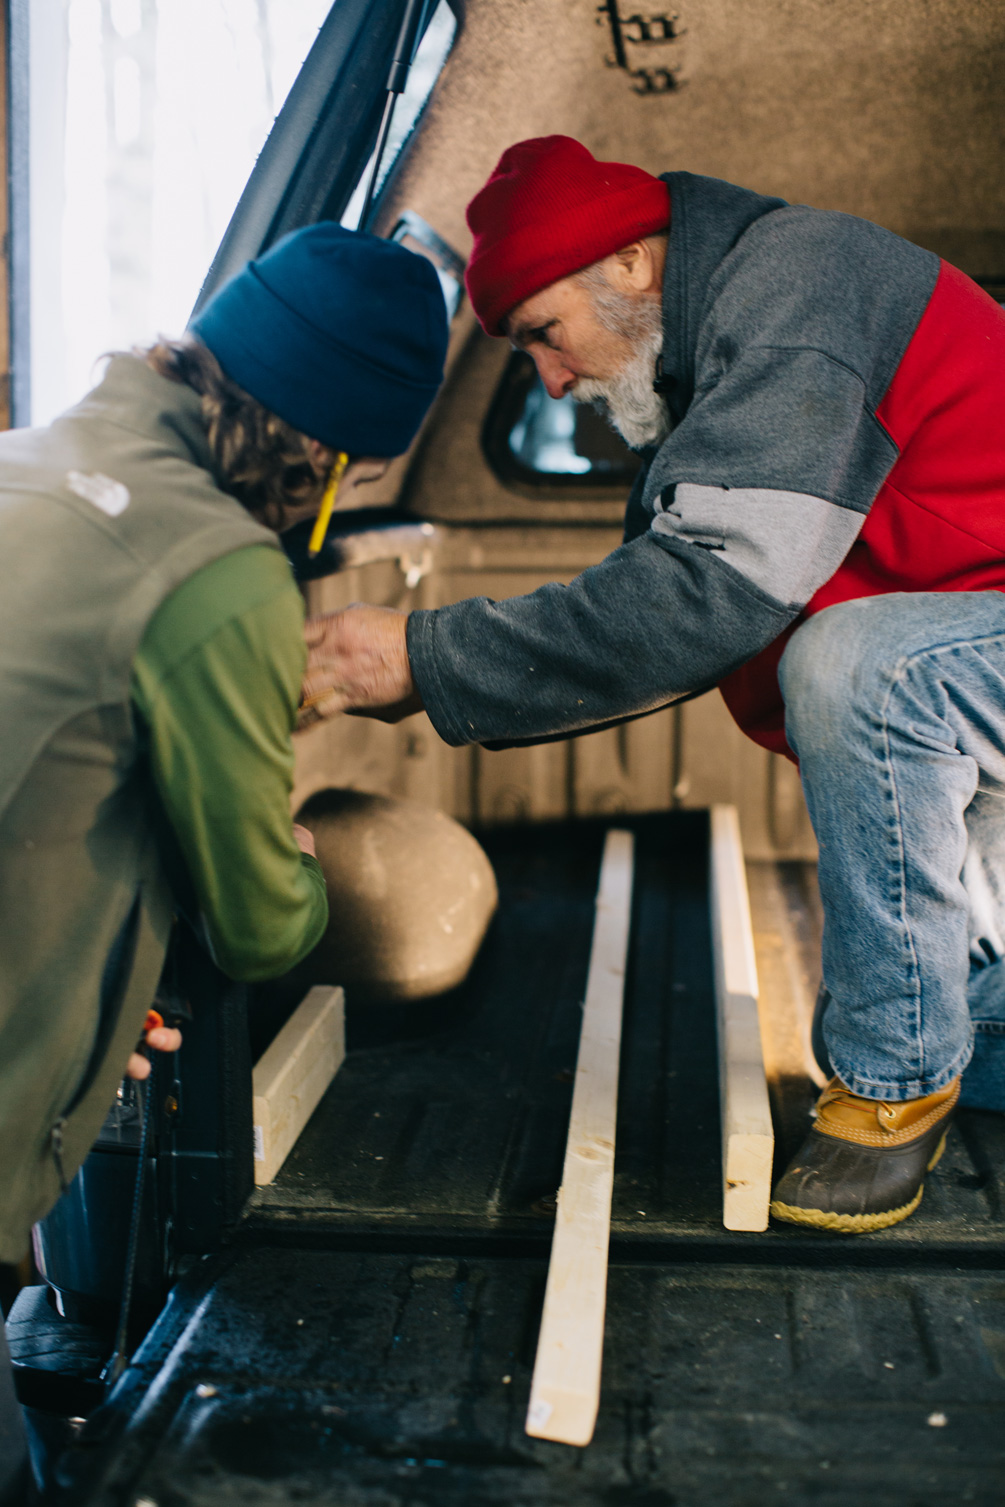
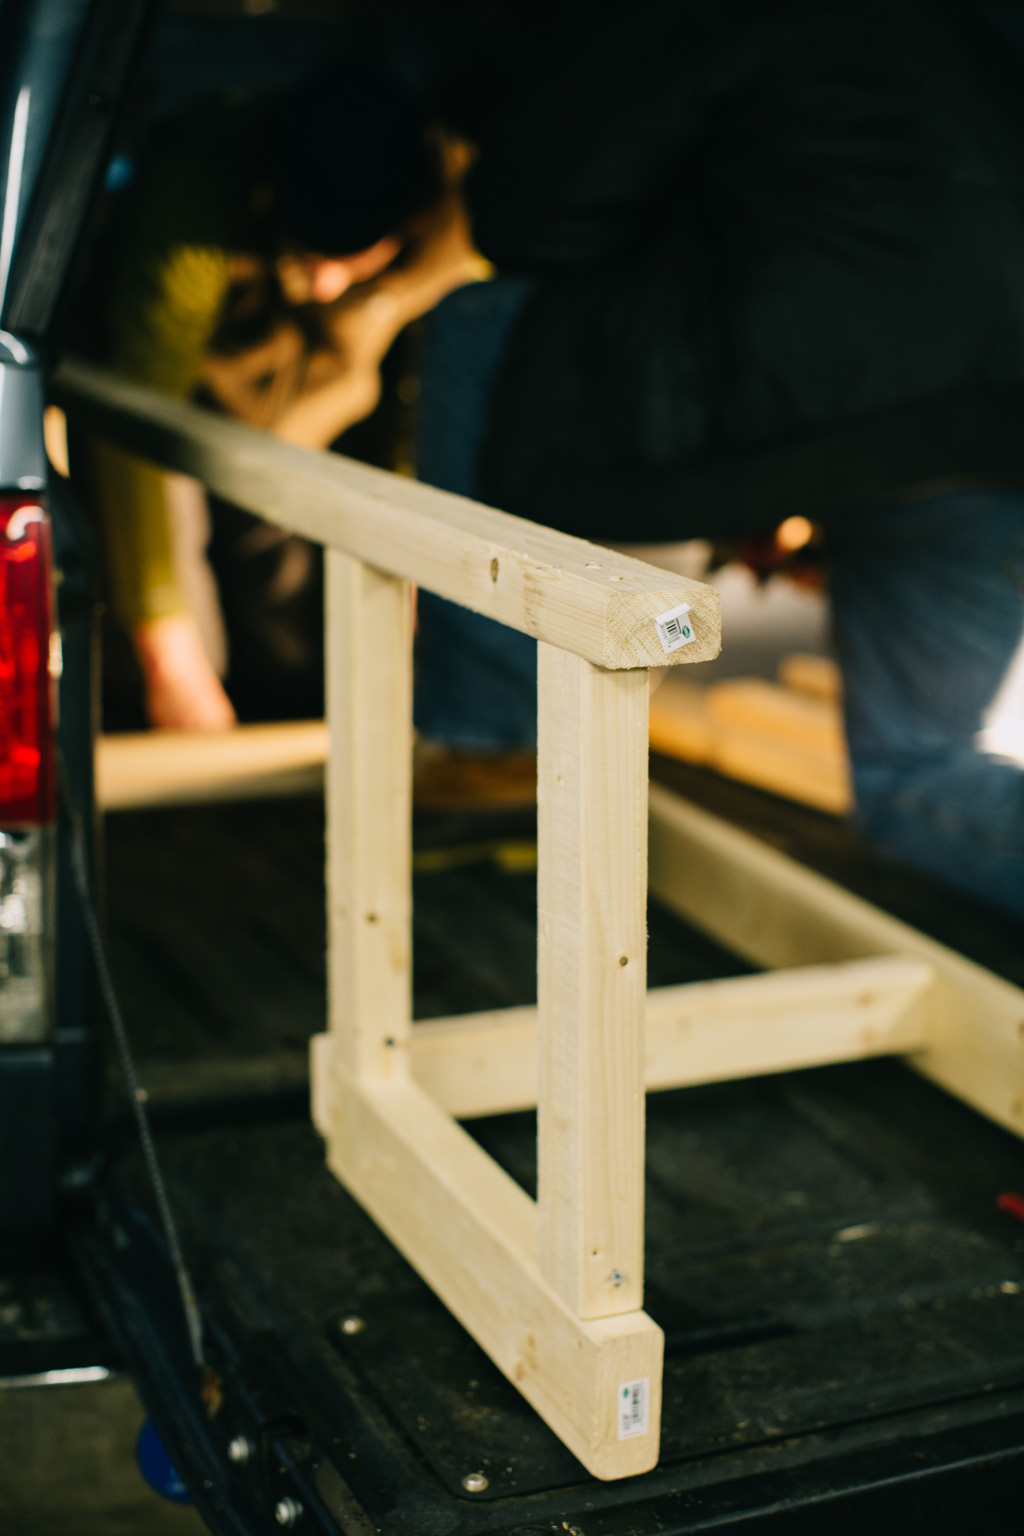
So we gathered measurements and drew out an oh-so-high-tech plan (stop judging us…I hadn’t planned on sharing this publicly...) and materials list and headed down to Justin’s folks’ to borrow tools and expertise (remember how we sold all of our stuff…we maybe should have held onto our tools just a little longer…). We headed to the hardware store, made our purchases, and spent the entirety of a cold, rainy December weekend pulling the pieces together.
A few things to note:
- We have a Toyota Tundra with a full 6’ bed
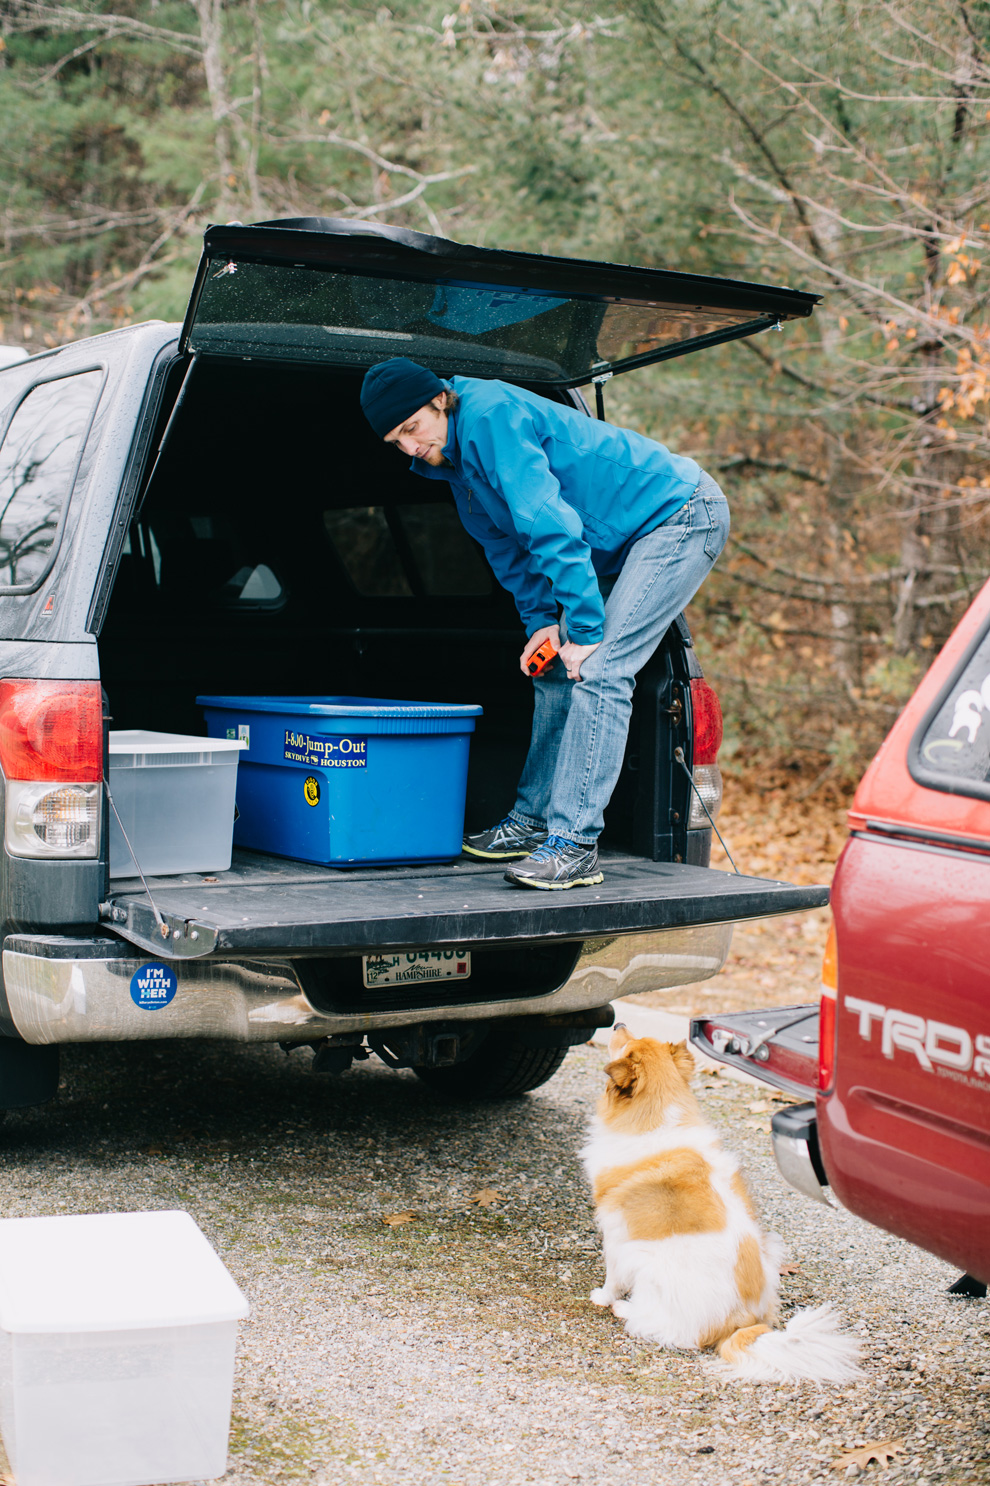
- We already owned the bins we knew we wanted to use and built with their measurements in mind:
- 4 medium-large clear Sterilite bins that we picked up at Target
- 2 smaller clear Sterilite bins that work in the wheel-well area
- 2 large Rubbermaid bins I’ve had since somewhere around 1998
- 2 shallow clear Sterilite bins
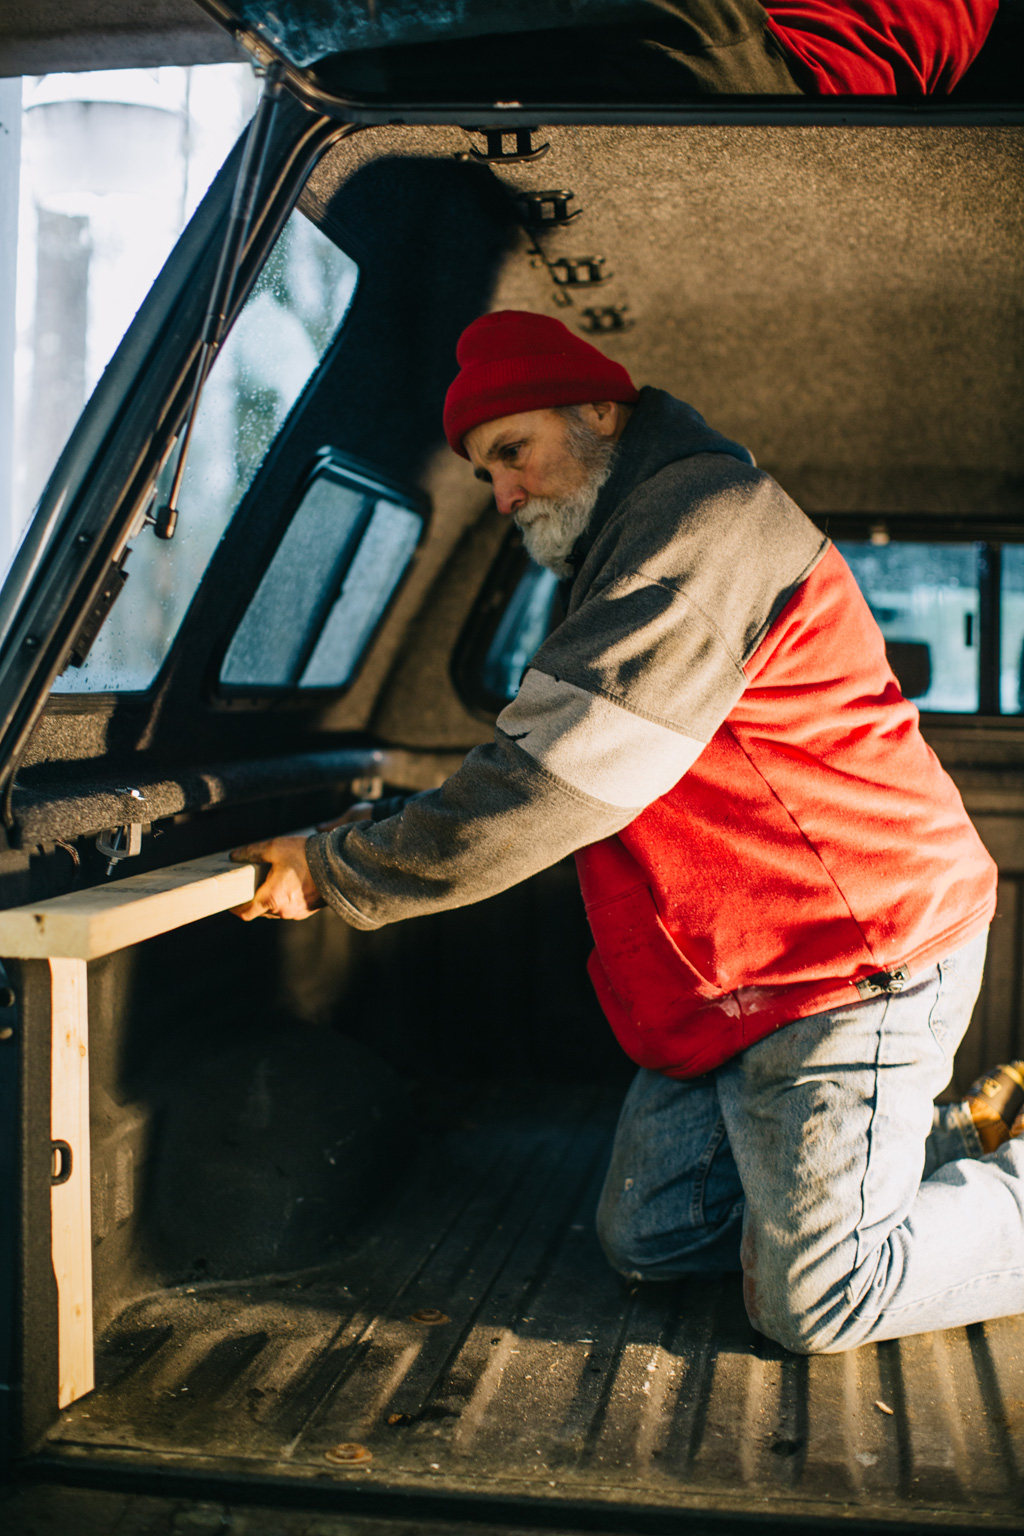
- We wanted to have the flexibility to have a full sleeping platform across the entire space when both of us were utilizing it OR to remove the center piece in order to have more headroom if it were just one of us (also, it gives us some flexibility of we want to load in, say, bicycles or kayaks…)
- Everything is freestanding, nothing is bolted to the truck bed itself in any way
- We opted to NOT use pressure treated wood…the chemicals just seemed like a terrible idea. We did compromise and use Thompson’s water seal on the pieces that are sitting on the bottom of the truck bed itself as there is no way to make the bed perfectly watertight, but everything else is basic pine and plywood.
Our supply list with cost:
- (1) 4x8 5.5mm plywood underlayment - $12.99
- (2) 4x8 5.8" pine plywood - $49.74
- (8) 2x3 pine stud (96”) - $16.56
- (5) 2x4 pine stud (96”) - $13.05
- (6) 1.5 x 12 piano hinge - $59.88
- Thompson’s Water Seal - $11.48
- 2 brushes - $2.96
- screws (1” and 3”) (already had on hand)
Our total cost: $186.62
Total time spent (would definitely have been more without the help and expertise of Justin’s dad!): approximately 28 hours
What do you think? Have you guys done this? Would you have done anything differently?


